Bespoke tailoring is an art form that requires precision, attention to detail, and the right tools.
But if you’re not in the world of bespoke tailoring, how patterns are made can be a complete mystery.
Because i’m so close to the industry, I often overlook how interesting the tools a bespoke pattern maker uses to people on the outside.
So the purpose of this article is to grant a peek inside the toolkit of a pattern maker so you can understand how we achieve the perfect fit.
TAILOR’S L
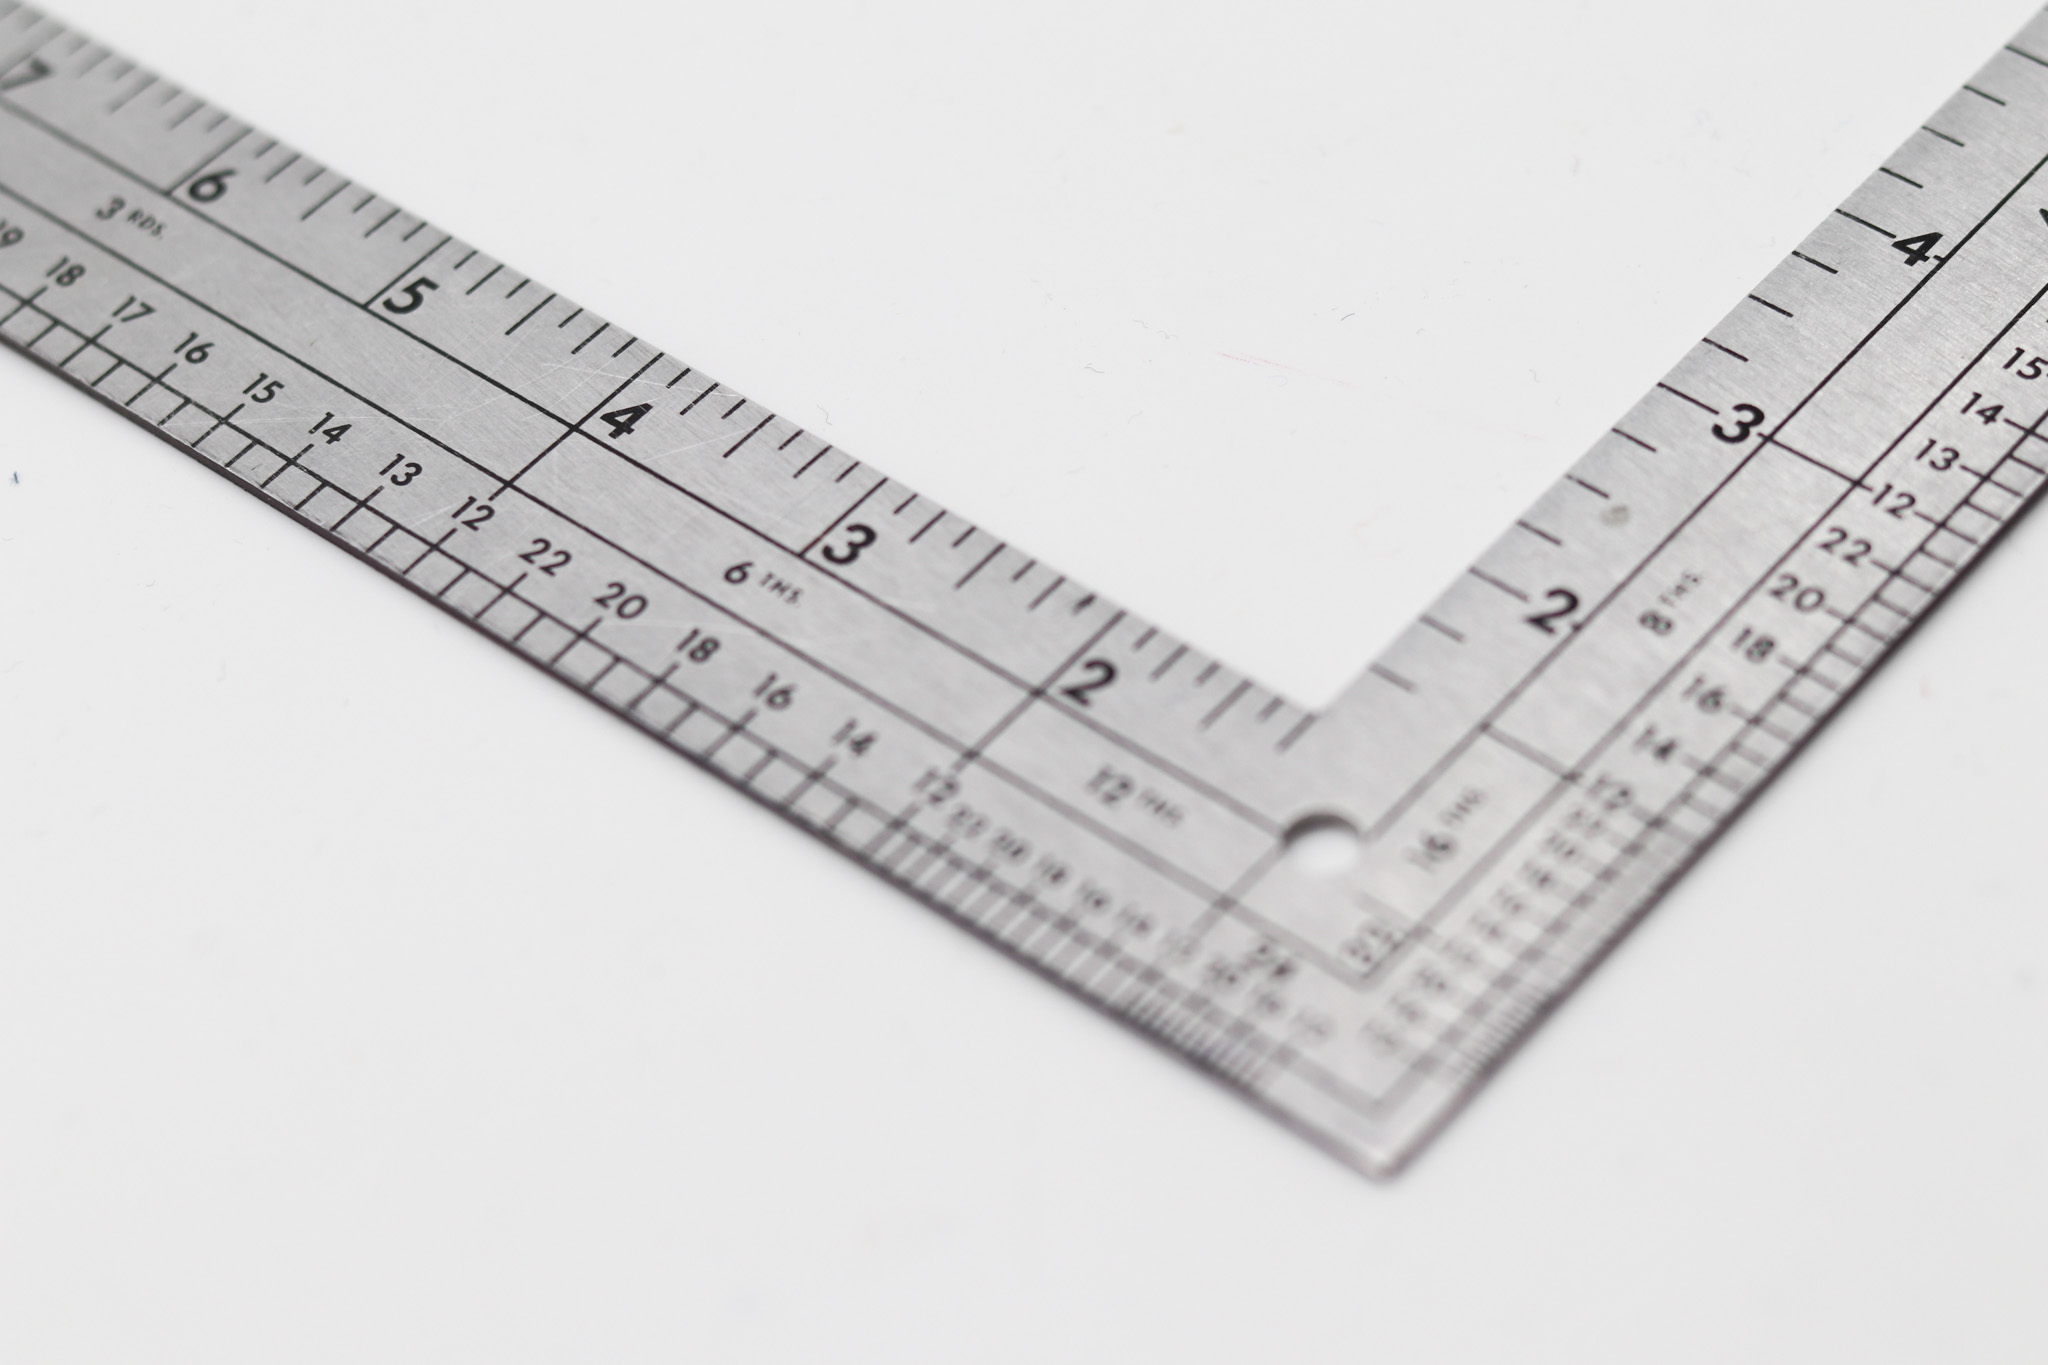
The most powerful tool in the pattern maker’s arsenal is the Tailor’s L.
This tool allows for quick and accurate mathematical calculations when creating patterns, which saves tons of time and effort.
When building a bespoke suit pattern, a pattern maker will constantly reference body measurements such as the chest.
For example, half of the width of the back of a jacket is 1/3rd of half the chest measurement, plus 2 inches. And the mid point of the front of the jacket is 1/6th of the half chest from the beginning of the armhole.
Instead of having to divide the chest measurement by three, or by six, or any other number, then measure that distance out using a ruler, the Tailor’s L has these calculations already etched in.
So if a chest is 44 inches, and the pattern maker needs to find1/3 of the half chest, he just looks up the half chest under the “Thirds Scale,” marks it off, and that distance will be exactly 7 3/8ths inches..
The Tailor’s L is available in various measurement systems, including inches, centimeters, and millimeters, so tailors can choose the one that best suits their needs.
Modern versions of the Tailor’s L have refined the original design, but its core purpose remains unchanged and is considered the cornerstone of the pattern maker’s toolkit.
16-Inch Clear Ruler

The 16-Inch Ruler may look like an ordinary ruler, but it is a crucial time-saving tool
Its precise measurement markings, which are divided into eighths, allow for accurate and consistent marking of fabric and paper patterns.
The ruler’s clear design makes it easy to line up and shift over by an eighth of an inch, saving valuable time that would otherwise be spent on constantly measuring and marking with multiple rulers.
For example, let’s say I mark off a point for the middle front of the jacket, and I need to add 1/2 inch, then draw a horizontal line.
I just take out my clear ruler, and holding it horizontally, shift it 1/2″ above the mark and draw my line.
Without the clear ruler, I would have to hold the ruler vertically, mark the point, then turn the ruler around to draw a horizontal line.
It also helps in making sure lines are straight.
For example, if I need to draw a line that’s exactly perpendicular to another line, I can use the clear ruler to match up with my reference line and use the edge of the ruler to draw my perpendicular line.
When paired with the Tailor’s L, the 16-inch Ruler ensures perfect accuracy, minimizing errors, and saving tons of time.
It’s no surprise that most tailors consider this tool to be the second most important tool after the L.
French Curve
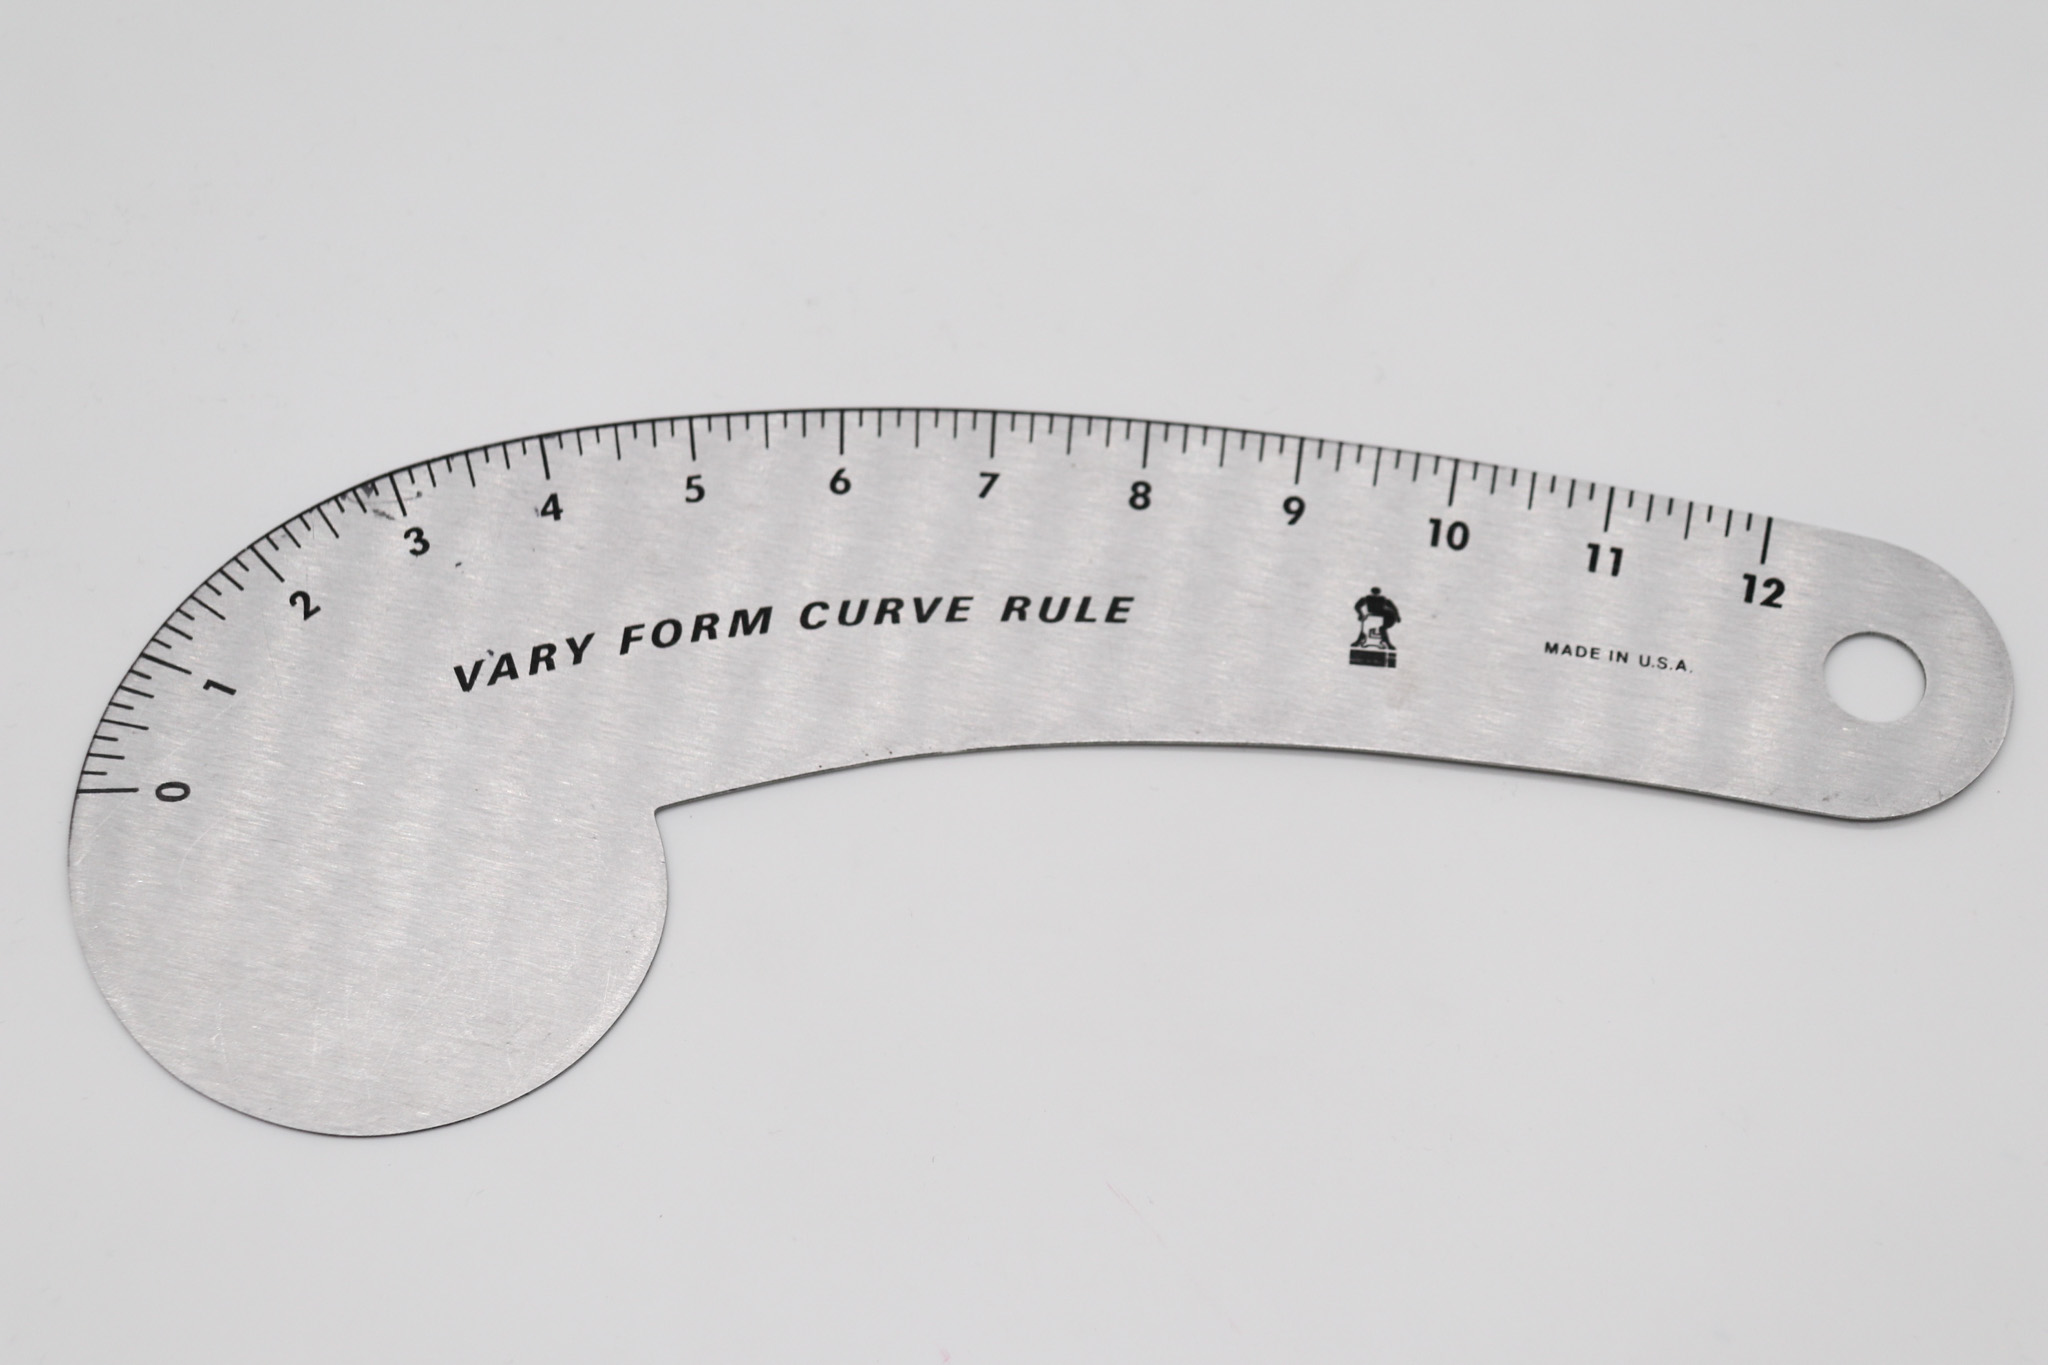
The French Curve is used for finishing touches and adding curves to straight lines, making garments look more polished and refined.
It is especially useful in pattern making because it allows tailors to create the slope of a neck, the curve of a chest pocket, the bottom of a coat, and other parts of a garment that require just a little more shape.
24-Inch French Curve
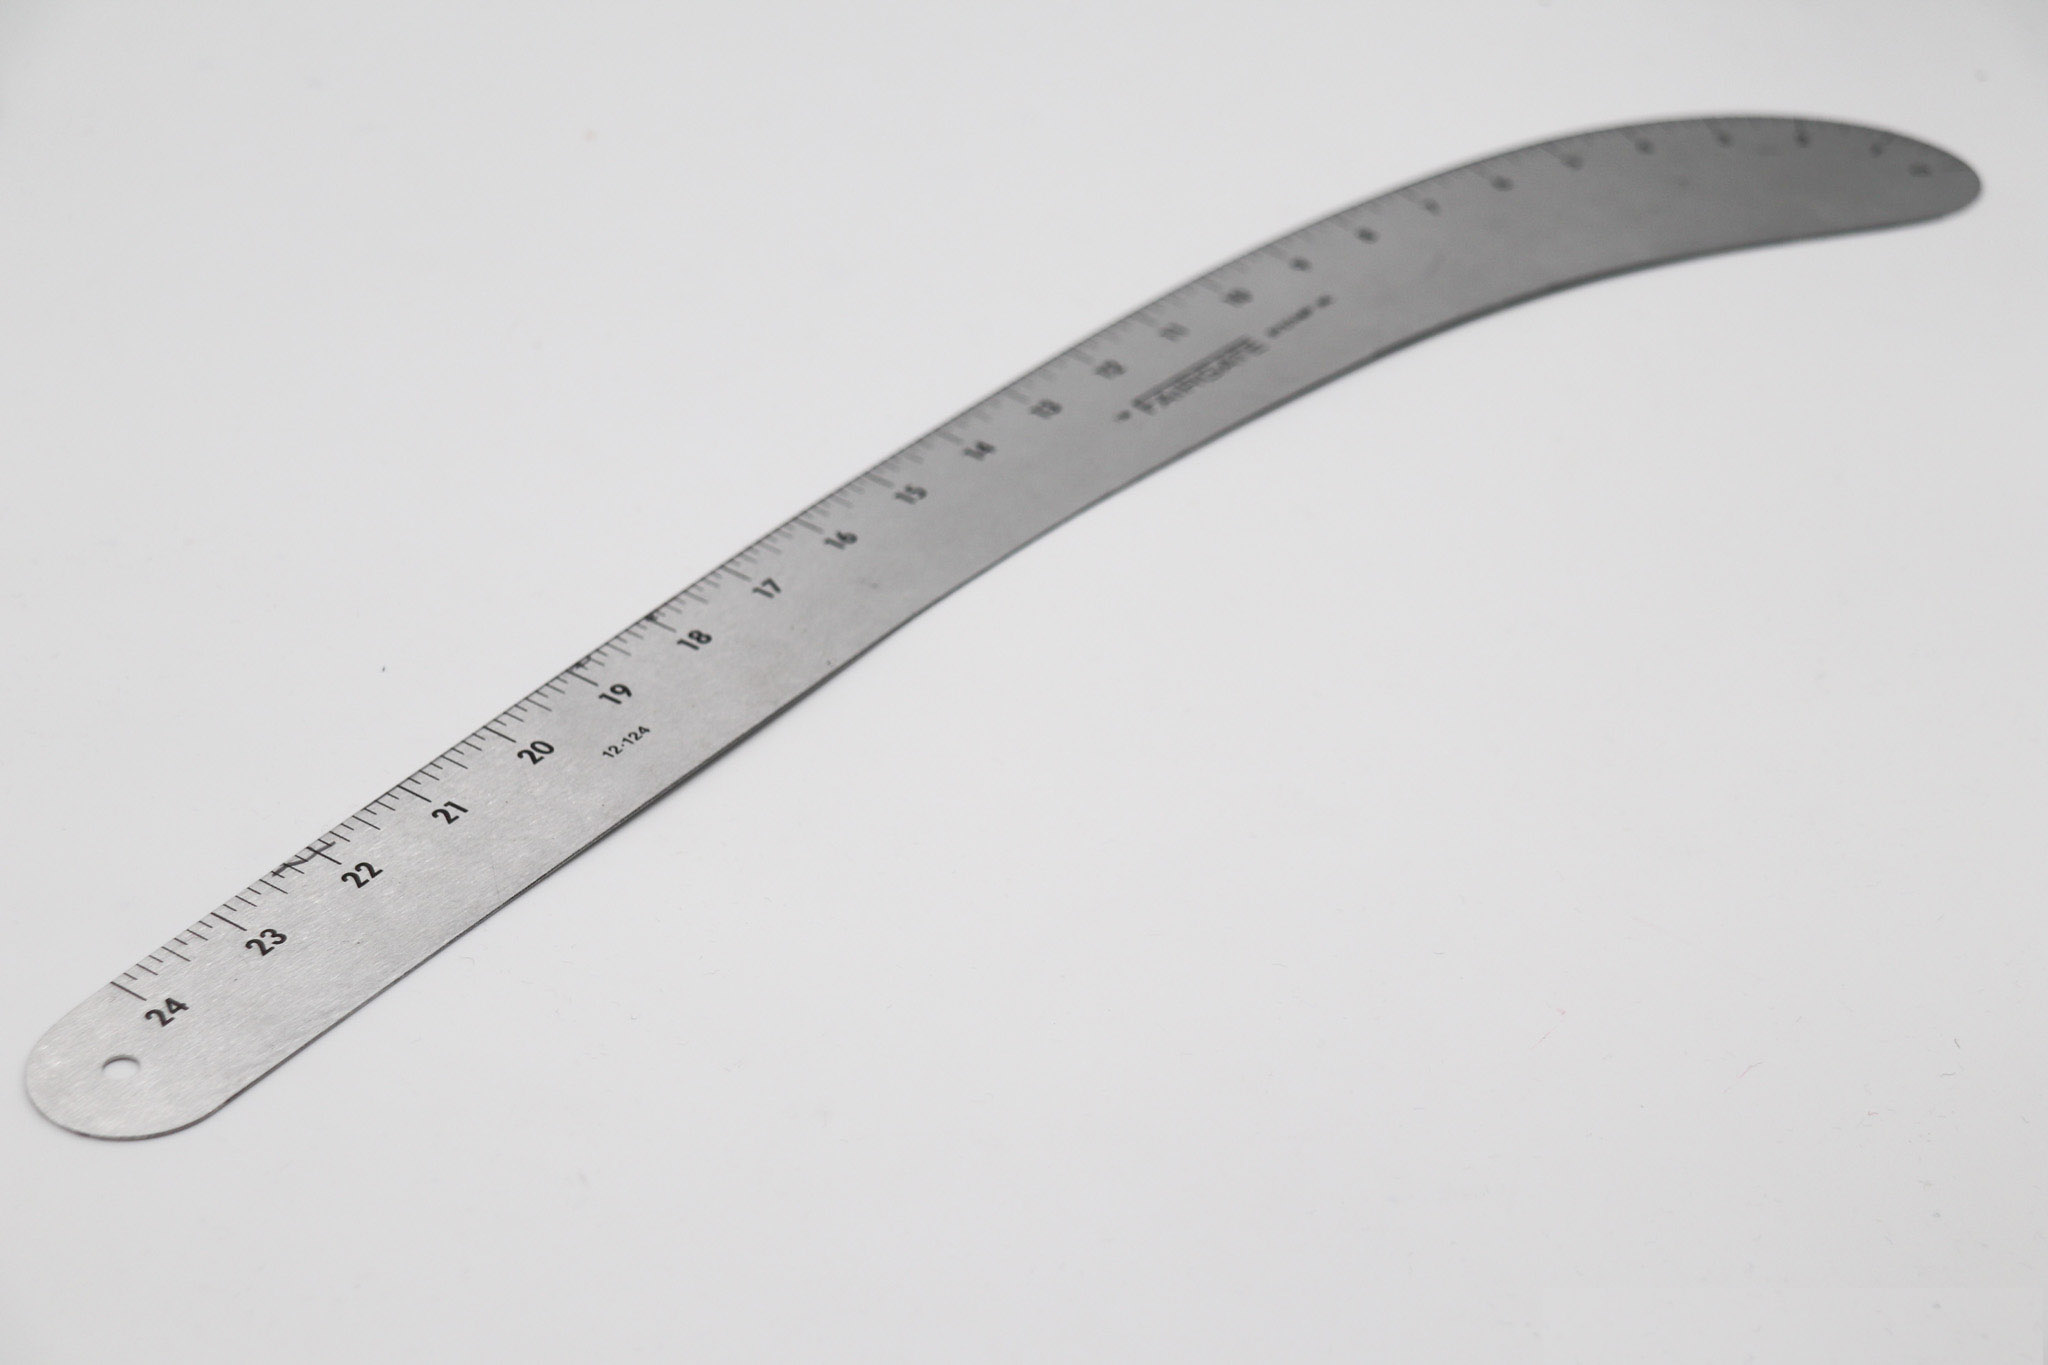
The 24-inch French Curve, much like the normal French Curve, is a tool used to get the right type of angles, particularly meeting the back panels with the side panels.
While the standard French Curve is ideal for small details, the 24-Inch version excels in handling larger curves for the larger seams on the jacket, trousers and waistcoat.
Hip Curve
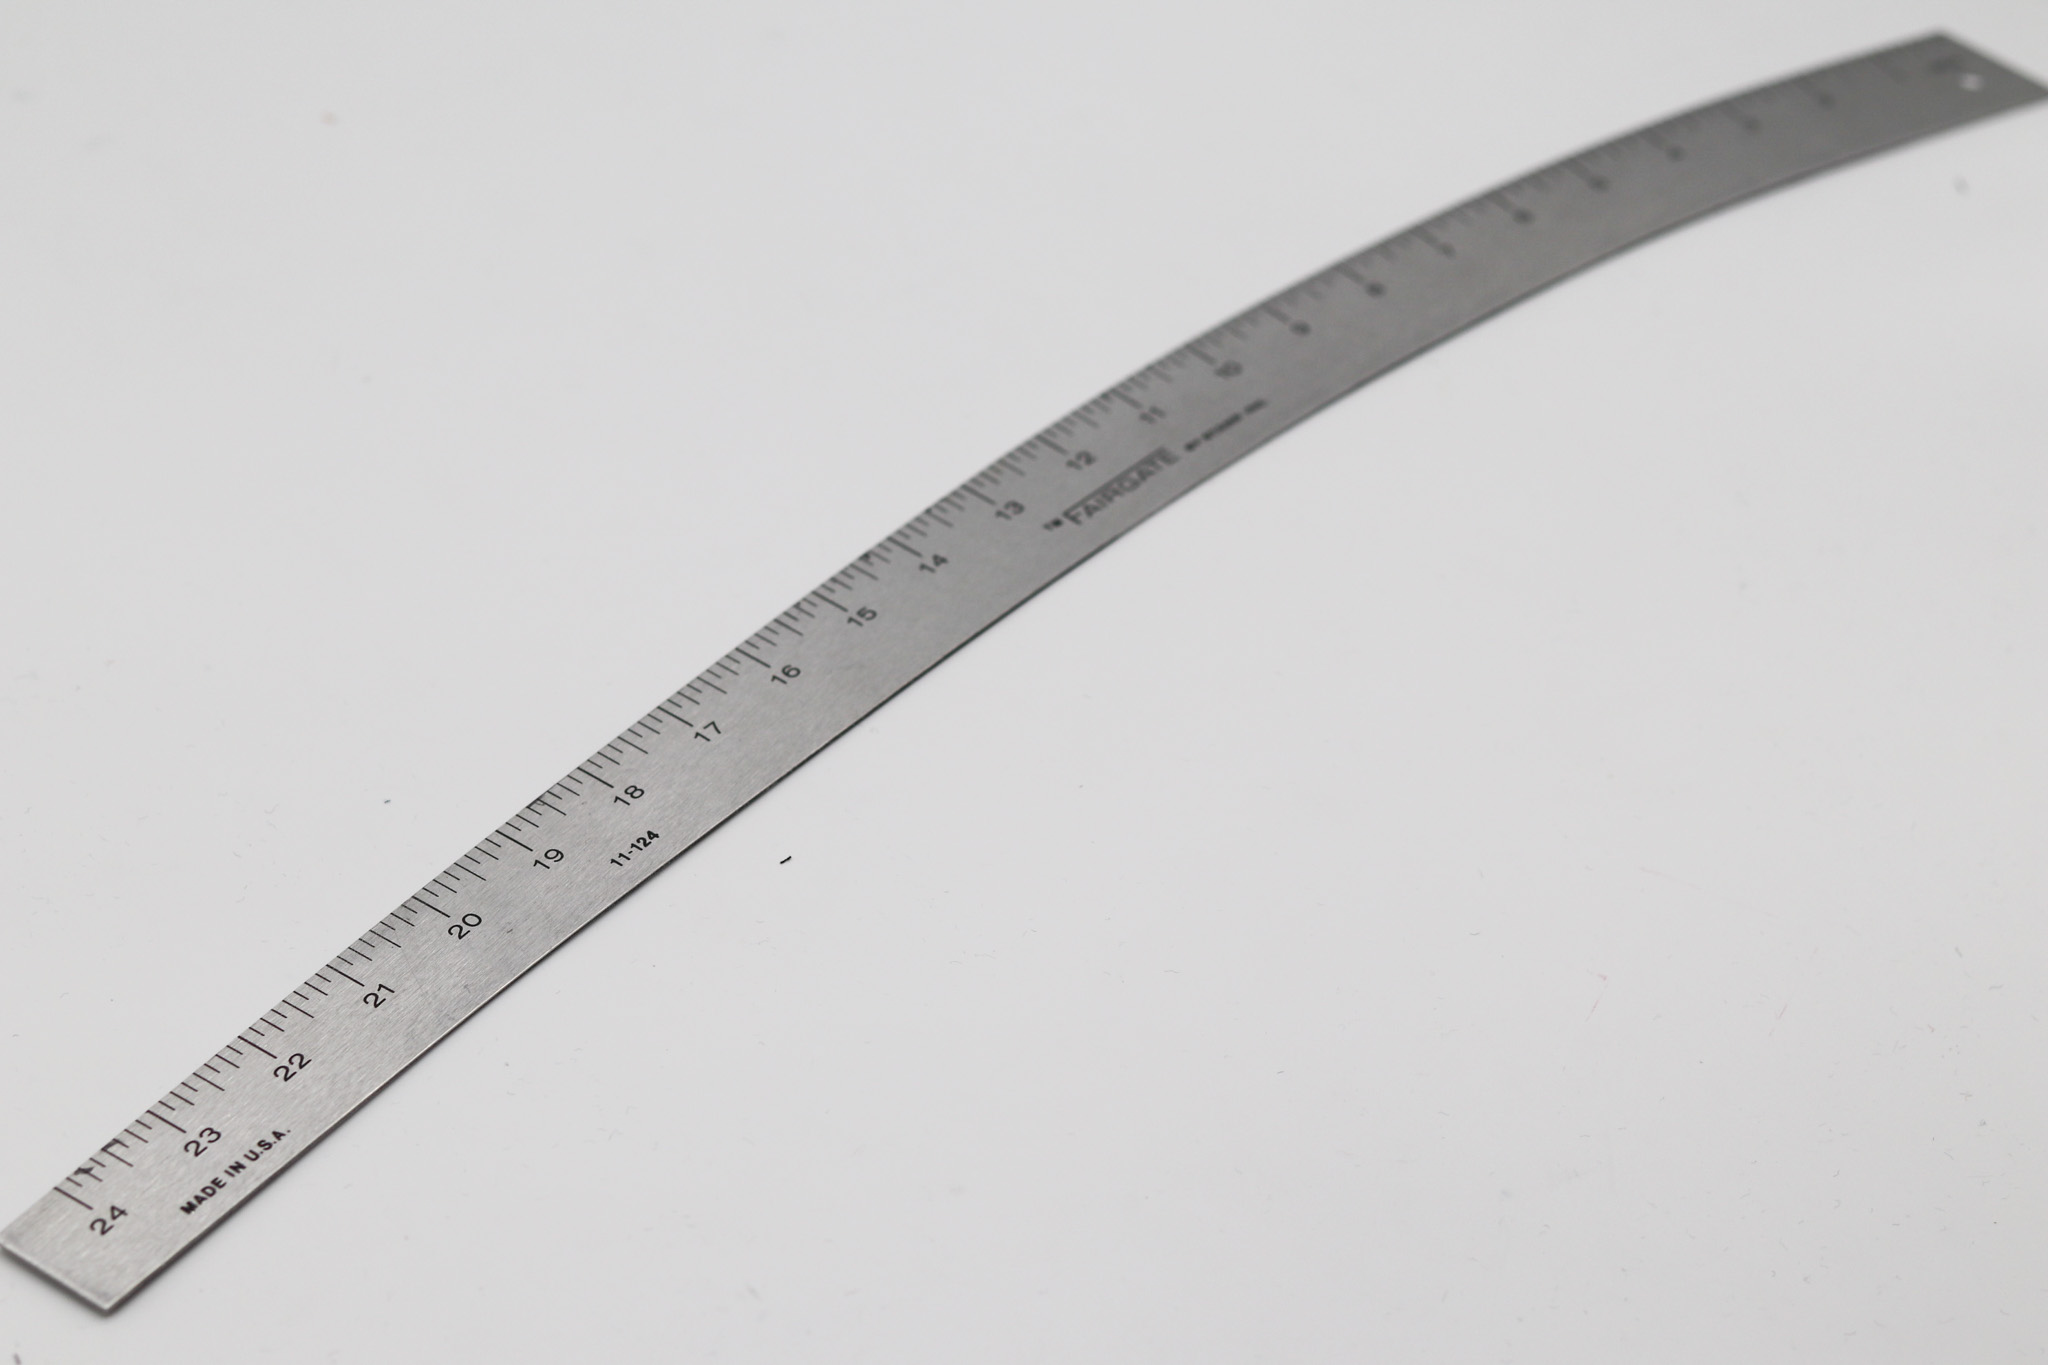
Despite its name, the hip curve is a versatile tool that can be used in trouser, waistcoat, and jacket making.
It helps create curves that fit the body naturally, accentuating the hips and ensuring a flattering silhouette.
The markings on the tool are used to determine where the curve should be placed on a straight line, and the curve can start in different places depending on the system being used.
For example, the curve drawn for the shape of the front of the jacket, from the button point to the bottom, uses a precise marking the hip curve to achieve the perfect curve.
Whether you’re working with a traditional or modern pattern-making system, the Hip Curve is an essential tool to achieve a good fit and a flattering silhouette.
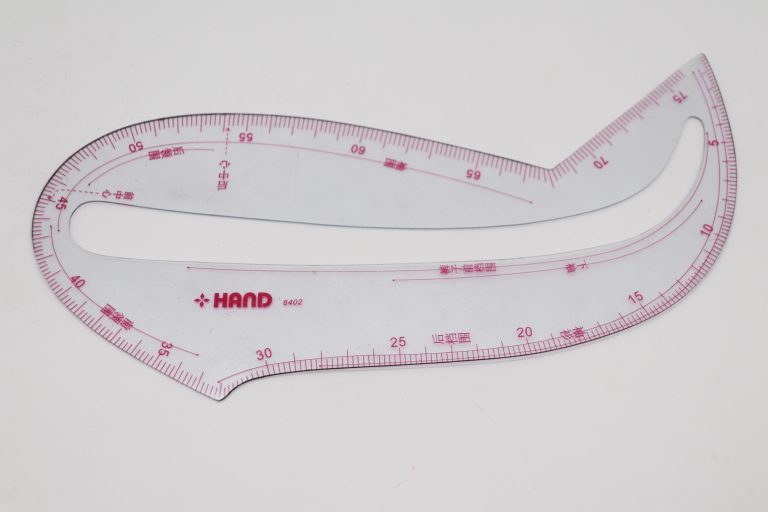
Hand Tool (Funny Tool)
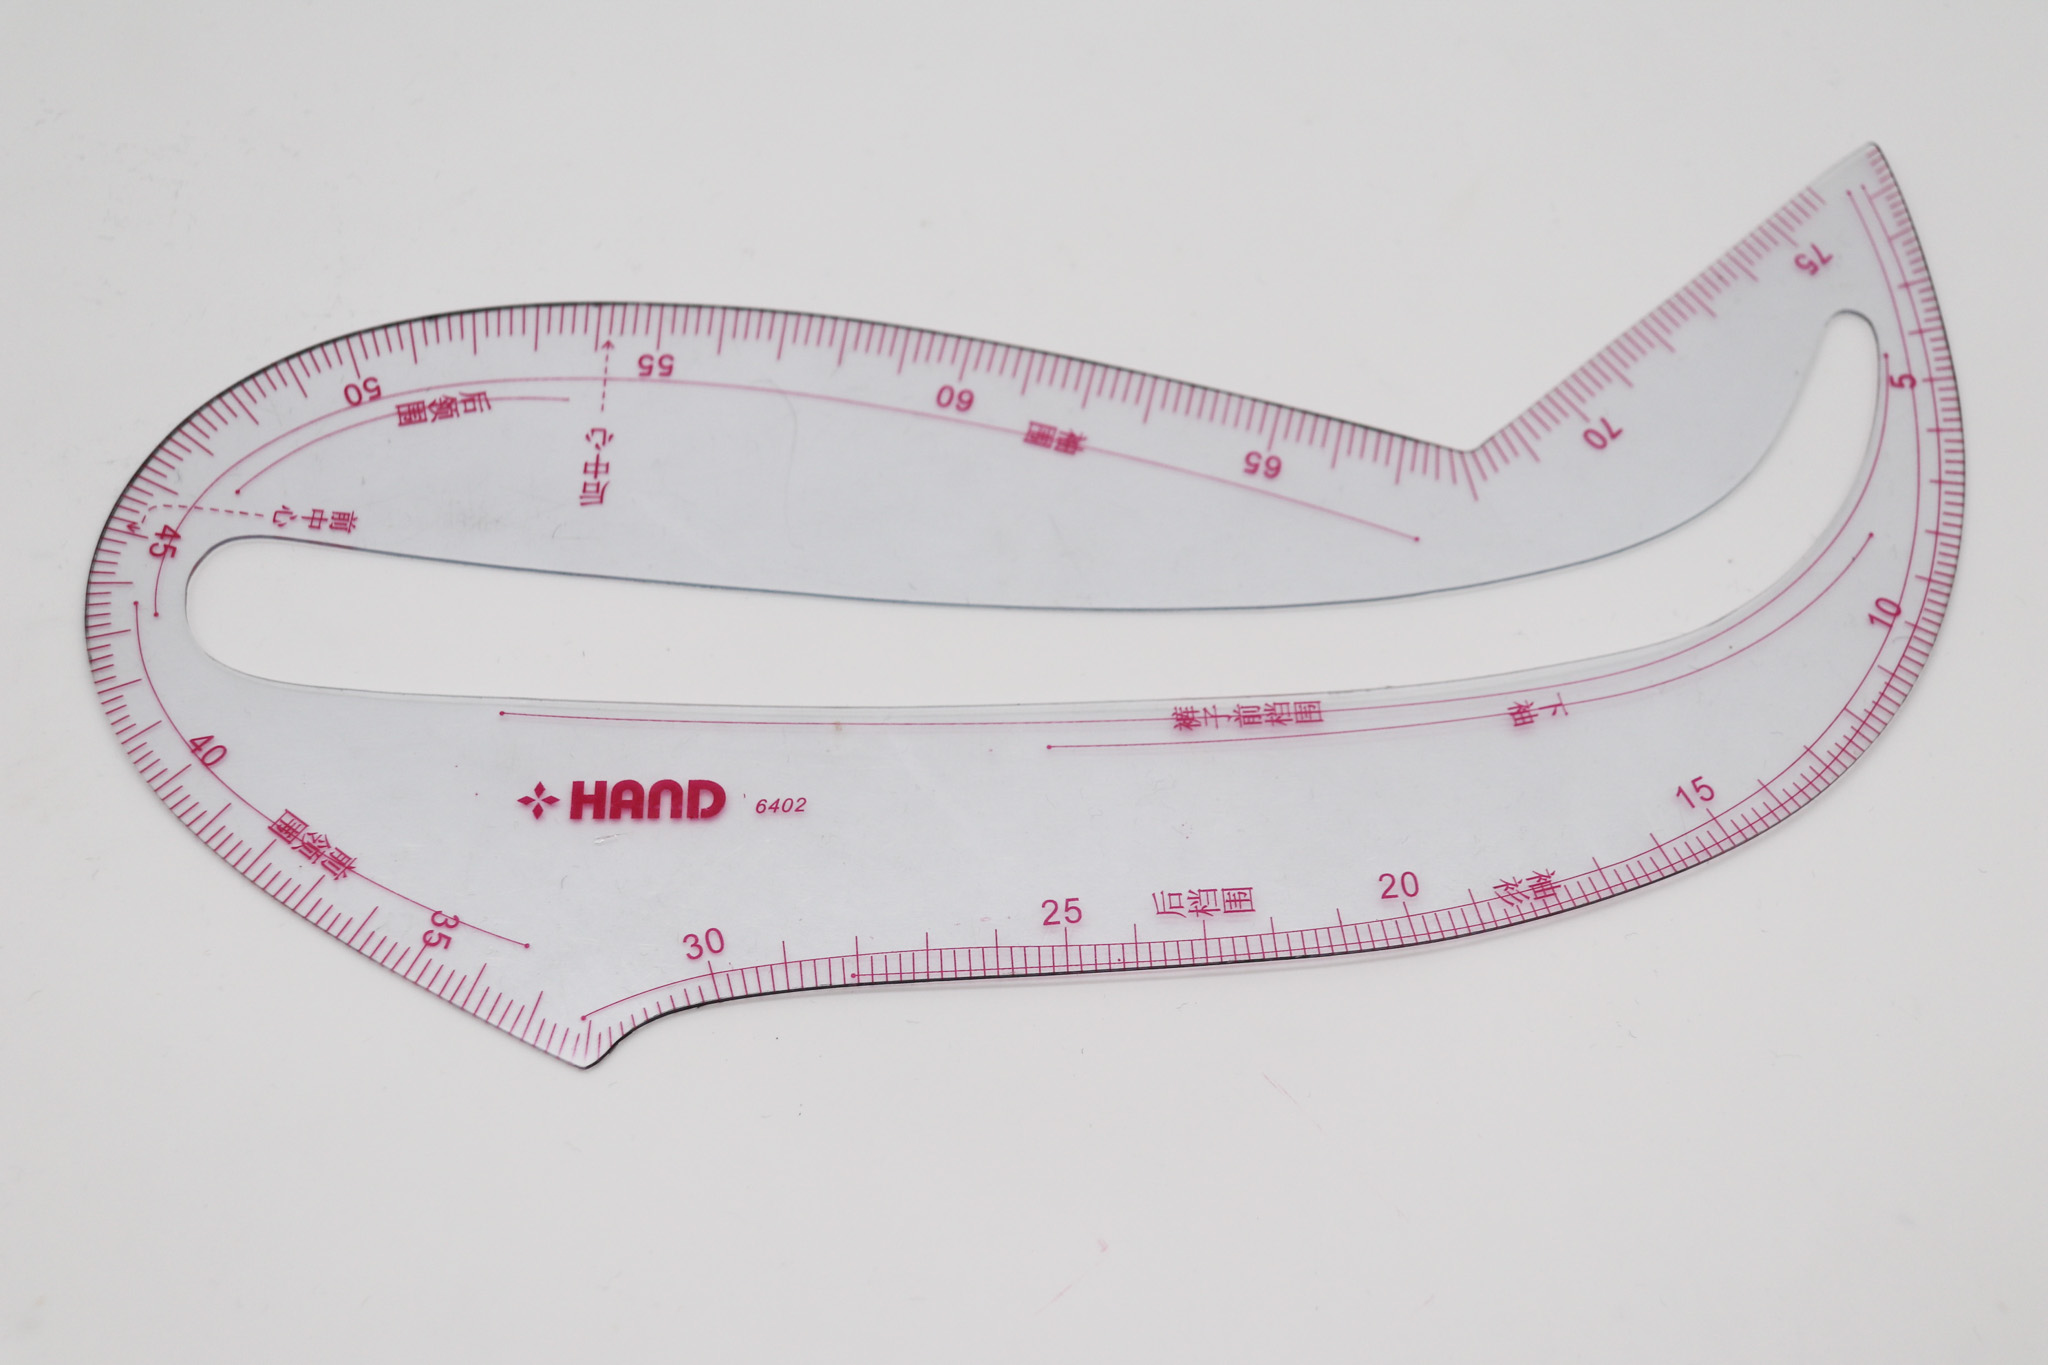
I call it my funny tool because it looks funny, but most call it the hand tool.
This peculiar-looking device is used to ensure that the head of a sleeve has the correct angle and curvature.
This tool is not as essential as the Tailor’s L or the Hip Curve, but it can come in handy when creating garments with sleeves.
Although it is difficult to find and may only be available on eBay, many tailors still use it to achieve the perfect sleeve fit.
The Right Tool for the Right Job
Pattern making is an art that thrives on precision
Without these tools, creating the perfectly fitted suit would be nearly impossible. They ensure every measruement is exact and every curve follows the body’s natural shape.
if you’d like to learn more, or see an entire pattern drafted, check out our YouTube channel where you can see all of these tools in action.

